Ticketize.it documentation
A complete, step-by-step walkthrough of installing, configuring, and using Ticketize.it to keep two Jira projects in sync — issues, comments, attachments, and status transitions. Prefer to watch? There is a short demo video below.
Demo video
A short walkthrough of the full journey: account creation, the Jira OAuth flow, the empty integrations and sync-rules states, creating your first sync rule end-to-end (Name & Direction → Source → Target → Field Mapping → Review), and the settings screen with the “Disconnect & clean up” action.
1. Create your account
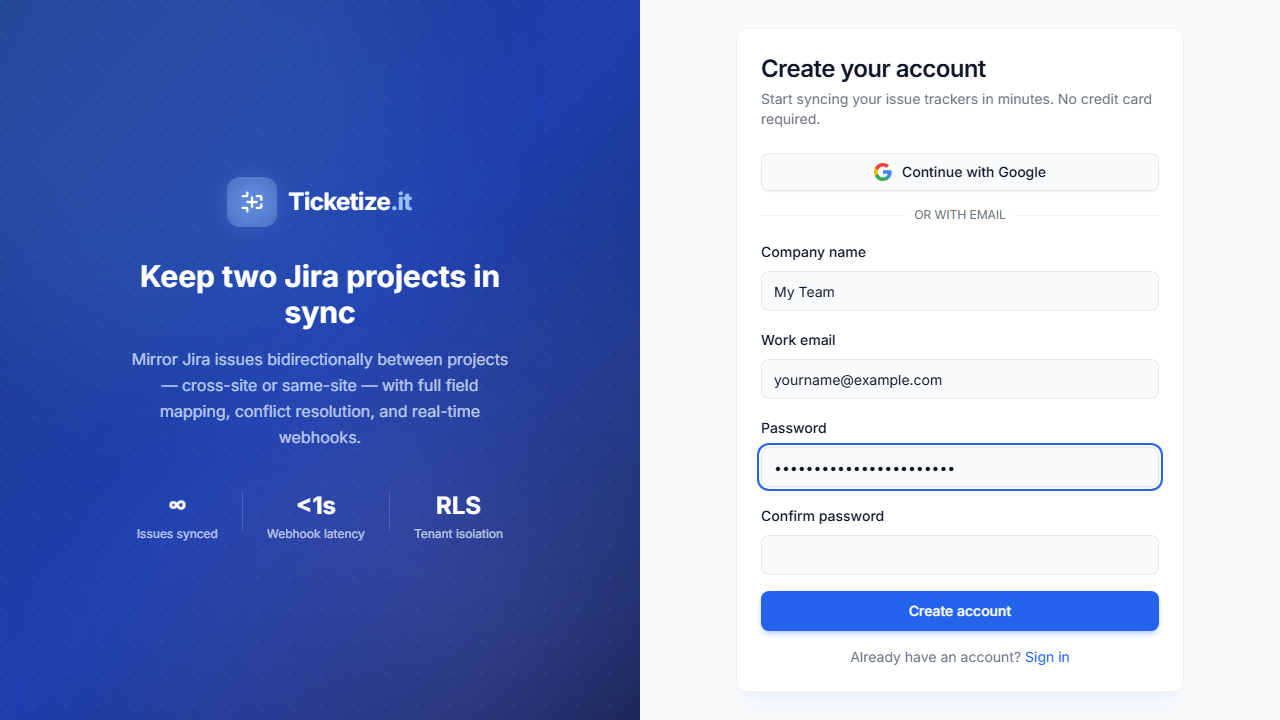
1.1 — Sign up with email + password
Go to app.ticketize.it/signup and fill in your email, workspace name, and a strong password. The workspace name is the label that appears in the sidebar; you can change it later in Settings. We send a confirmation email with a verification link — click it before you log in.
1.2 — Verify your email and log in
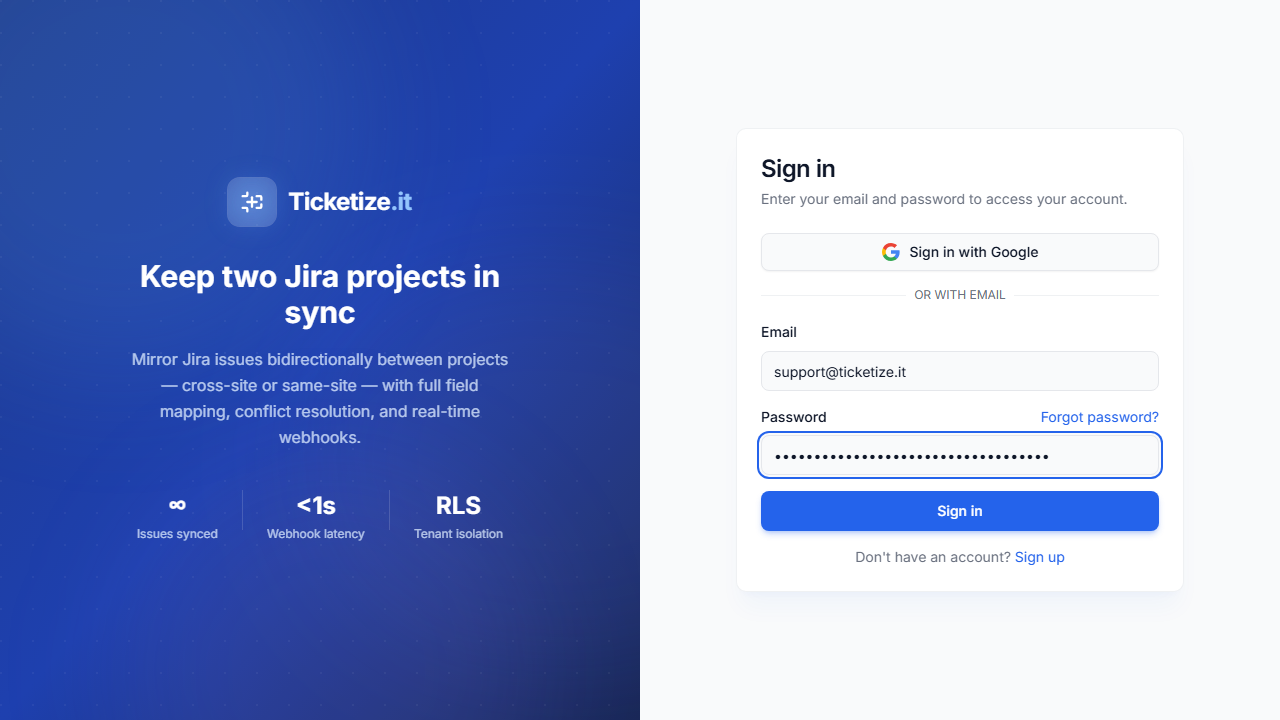
Open the email titled “Verify your email” and click the link — it returns you to /login. Enter the same credentials and you land on the Dashboard. If you prefer single sign-on, the “Sign in with Google” button above the email form authenticates against the same account once you have linked it.
1.3 — Land on the Dashboard
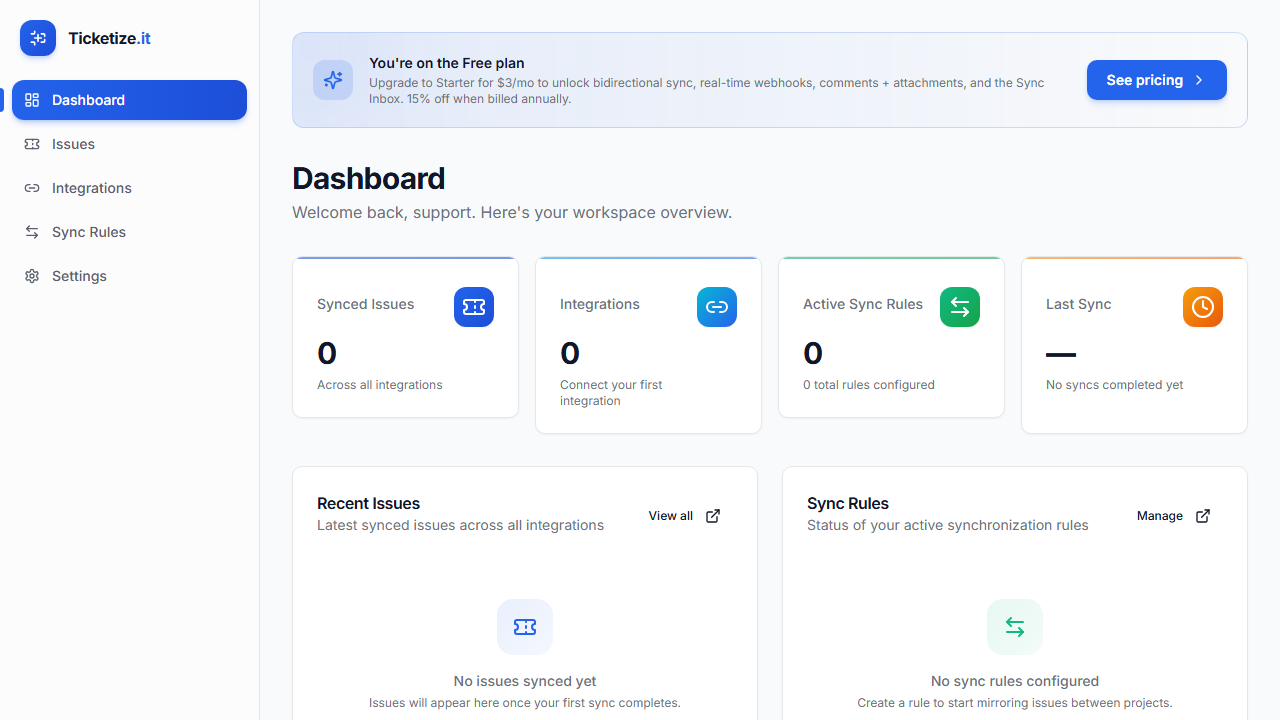
The Dashboard is your home screen. On a brand-new account you see four zeroed-out stat cards (Synced Issues, Integrations, Active Sync Rules, Last Sync) and a friendly empty-state prompt to connect your first Jira workspace.
2. Connect your Jira workspaces
Ticketize.it uses Atlassian's OAuth 2.0 (3LO) protocol — you authorize the app on Atlassian's consent screen and we receive a refresh token. No API tokens to copy or store. Connect at least one workspace; for cross-site sync, connect two.
2.1 — Open the Integrations page
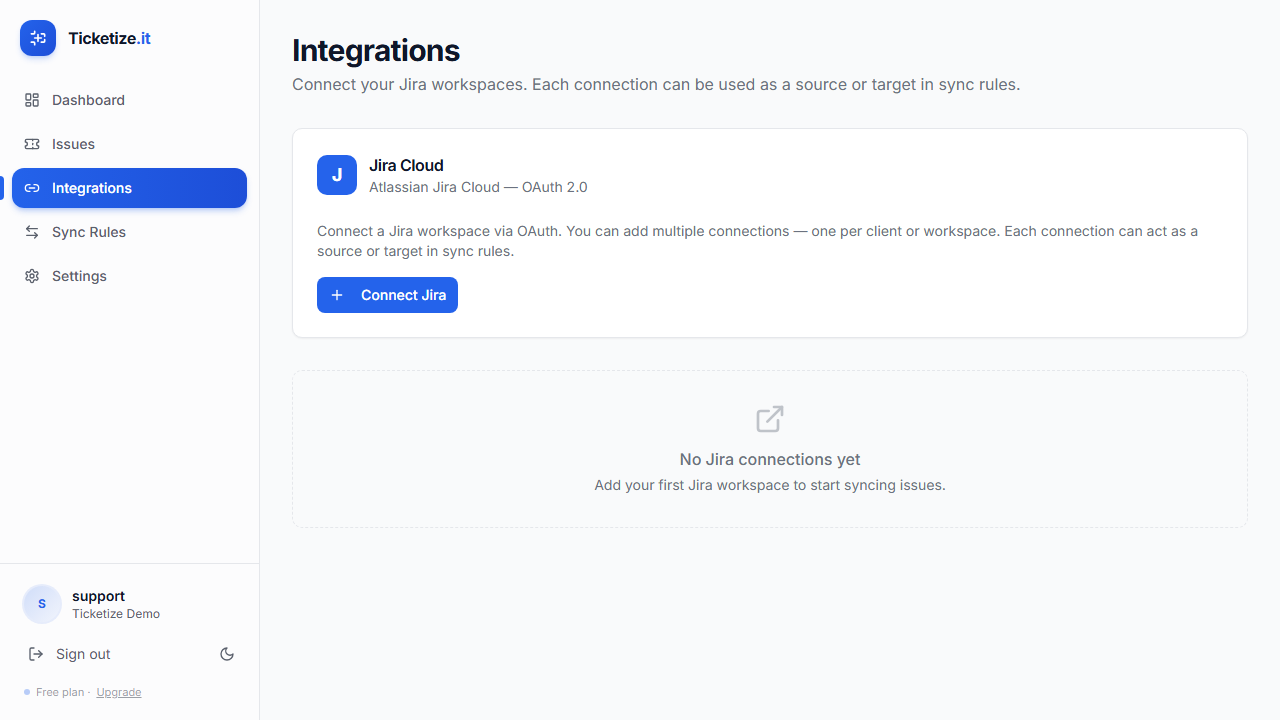
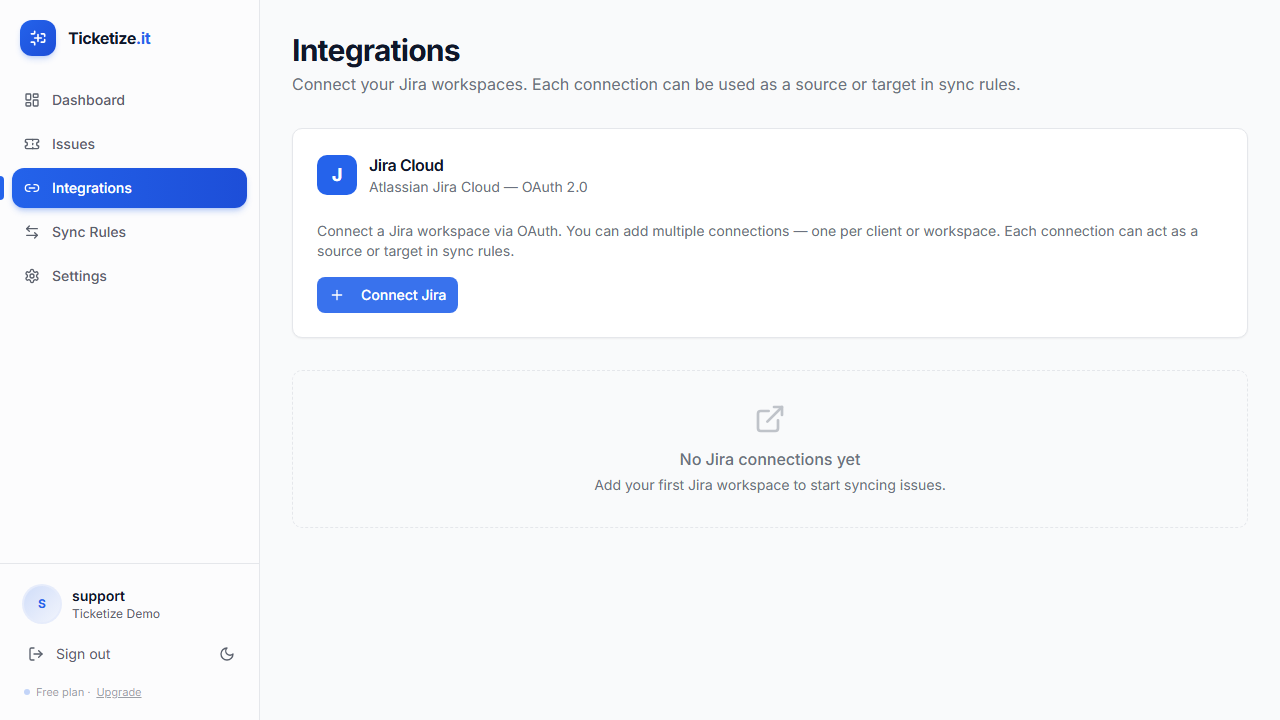
Click Integrations in the sidebar. On a fresh account you see a single “Jira Cloud” tile and a “No Jira connections yet” empty state below it.
2.2 — Click Connect Jira
Hit the Connect Jira button. You are redirected to auth.atlassian.com — Atlassian's OAuth consent screen — where you select which workspace to authorize and confirm the requested scopes (read/write issues, read user, register webhooks, refresh tokens, offline access). After clicking Accept, Atlassian redirects you back and your workspace appears in the integrations list.
3. Create your first sync rule
A sync rule pairs a source project with a target project, picks a direction, and defines how fields map between the two sides.
3.1 — Open Sync Rules → New rule
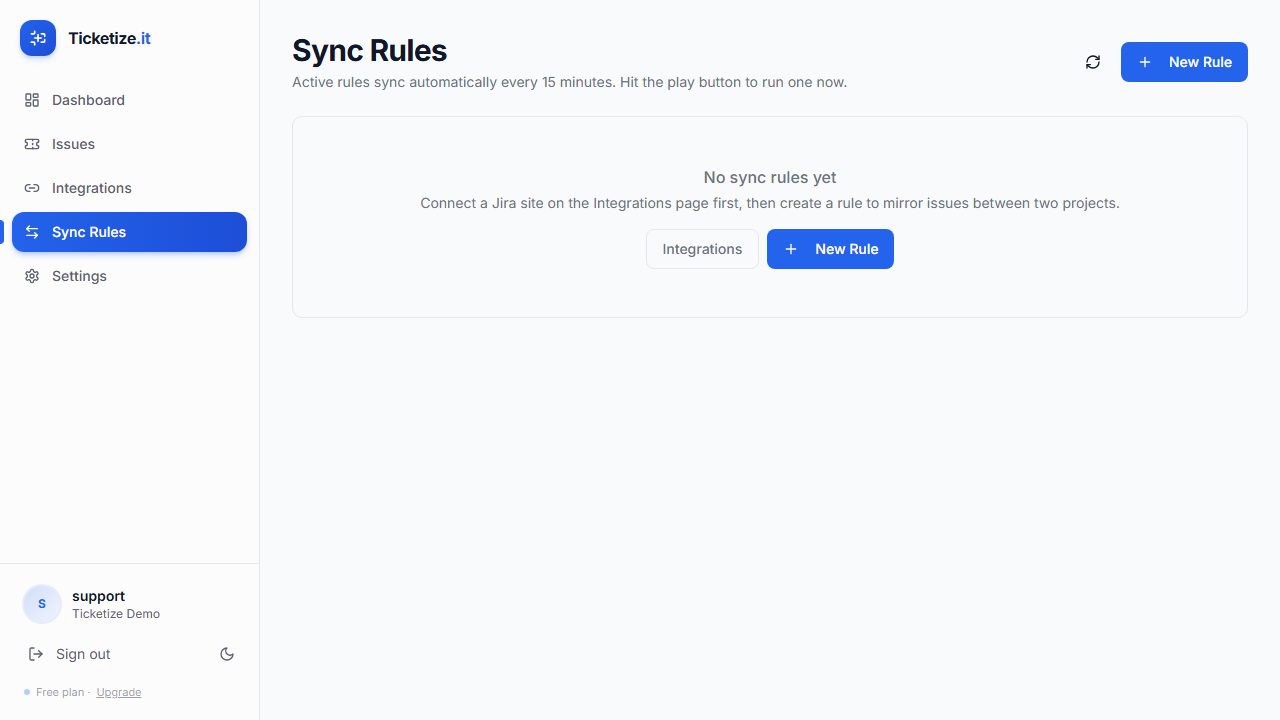
Click Sync Rules in the sidebar and then New rule. On a fresh account, the page shows a “no rules configured” empty state with a prominent CTA to start.
3.2 — Walk through the wizard
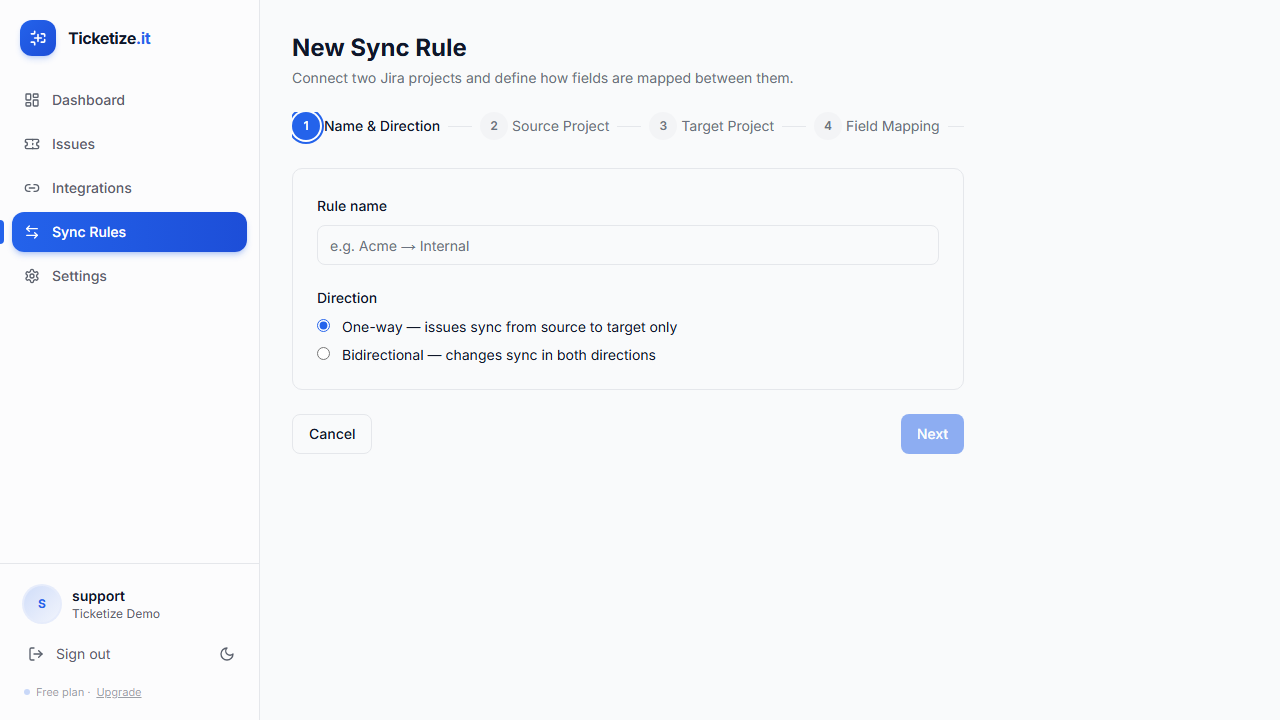
The wizard collects, in order:
- Source project. The connected workspace and Jira project to read from.
- Target project. The workspace and project to write to. Can be the same Jira site or a different one.
- Direction. source → target for one-way mirroring (Free tier) or bidirectional so changes on either side propagate (Starter and up).
- Field mapping. Status, priority, issue type, and assignee mappings — see Field mapping below.
- Review. A summary screen with comment attribution style, migration mode toggle (for incoming mirrors from another sync tool), and the Save button.
3.3 — Enable the rule and watch it run
Saving the rule schedules it. Paid tiers register a Jira webhook for near-real-time delivery (seconds). The Free tier checks every few minutes — polling is adaptive, so quiet rules are checked less often and busy ones stay fresh. The Sync Rules list shows per-rule status: last run, issues synced, and any errors. Click into a rule to see its detail page with the live sync log.
4. Field mapping
Two Jira projects rarely share the same workflow, priority scheme, or issue types. The mapping step lets you bridge those differences explicitly — no surprises, no silent fallbacks.
Status
Map each source status to a target status (e.g. a source “To Do” → target “Backlog”). Status changes propagate through the mapping in both directions on bidirectional rules. Unmapped statuses default to the target's first “open” status and are flagged in the sync log.
Priority
Same idea as status but for priority schemes. “Highest” on Jira A maps to “Critical” on Jira B. Unmapped priorities fall back to the target's default.
Issue type
Tasks → Tasks, Bugs → Bugs is the obvious case. Sub-tasks are mapped explicitly because sub-task IDs are not portable between Jira projects.
Assignee
Assignees resolve by email → Atlassian accountId via Jira's user-search API. If the source assignee has no account on the target side, the issue is created unassigned and logged.
Summary, description
Synced as-is. Description is propagated on the source→target path and the bidirectional path (with conflict detection).
Comments
Mirrored with an attribution line. You pick per rule: preamble, footer, or none.
Attachments
Mirrored byte-for-byte between paired issues. Deletes are tombstoned so a removed attachment on one side reflects on the other.
5. What gets synced
- Issues & fields. Summary, description, status, priority, issue type, assignee. Status and priority traverse the mapping you defined; assignee resolves by email → accountId.
- Comments. Mirror in both directions with the attribution style you picked per rule. Edits propagate.
- Attachments. Files mirror byte-equal between paired issues. Tombstoned on delete so removals propagate too.
- Bidirectional & drift. On a bidi rule, changes on either side propagate to the other. If both sides change the same field between syncs, Ticketize flags the conflict instead of clobbering — you pick the winner.
6. Troubleshooting sync problems
Most sync friction falls into one of a few buckets. Each has a dedicated UI surface — you do not need to read worker logs to fix things.
A mirror already exists — use the Sync Inbox
Before a rule starts creating mirrors, Ticketize scans both projects for issues that already look paired (manual duplicates, leftover mirrors from another sync tool, or shared external IDs). Candidates surface in the Sync Inbox. Accept a proposal and we link the existing pair instead of creating a new mirror — no duplicates, no rework.
A link disappeared and both sides were edited
The Sync Inbox surfaces them again as discovery candidates. When you re-link, pick how to reconcile: “preserve both sides” (default), “source overwrites target”, or “target overwrites source” (bidirectional rules only).
Drift conflict — both sides edited the same field
On bidirectional rules, if both source and target change the same field between cycles, Ticketize detects the divergence and pauses propagation for that pair. The rule's detail page shows both versions side by side; you pick the winner and the engine converges on the next cycle.
Migrating from another sync tool
Enable migration mode on the rule wizard's Review step. Ticketize detects the previous tool's attribution markers (signature comments, custom-field IDs, label patterns) and bulk-pairs the existing mirrors before activating sync. Your historical pairings survive the cutover.
Token / webhook errors
If a Jira OAuth token is revoked or a scope is missing, the affected integration shows a red banner with a Reconnect button. Clicking it walks the standard OAuth flow and preserves all rules and mappings. Webhook errors surface per rule on the sync log.
7. Plans & limits
| Tier | Sync | Key limits |
|---|---|---|
| Free | Polling (every few minutes) | 1 rule, 50 mirrored tickets/mo, source→target only |
| Starter $3/mo | Webhooks | Bidirectional, comments, attachments |
| Pro $12/mo | Webhooks | More rules + sites, higher monthly cap |
| Business $29/mo | Webhooks | Mid-market volume |
| Enterprise | Webhooks | SSO, data residency, dedicated CSM |
See the pricing page for current numbers. Bidirectional sync requires Starter or above; the Free tier is one-way (source → target).
8. Security & leaving cleanly
Your data is isolated
Every workspace's data is scoped at the PostgreSQL Row-Level-Security layer, not just in application code. OAuth tokens are stored with AES-256-GCM envelope encryption (per-environment KEK wrapping a per-integration DEK). We only request the OAuth scopes the sync engine actually uses.
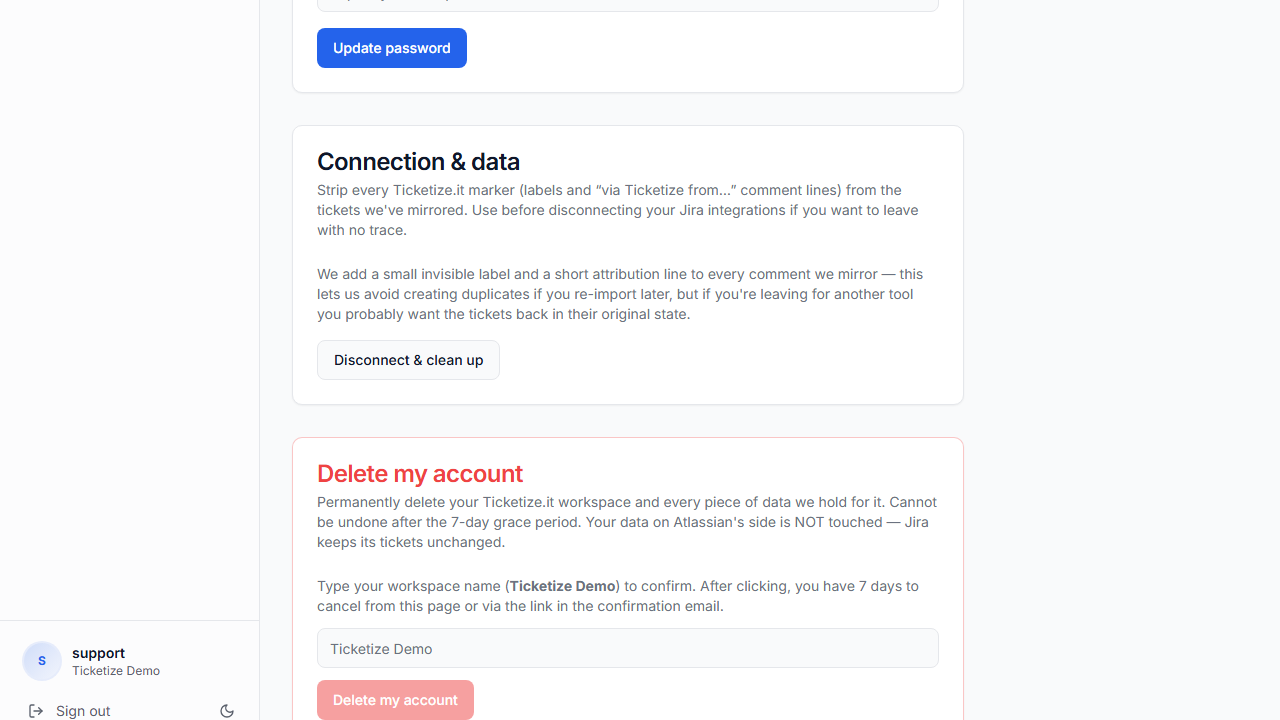
No lock-in — Disconnect & clean up
A one-click action in Settings strips every Ticketize marker (sync labels, attribution lines) from your tickets, so leaving is as clean as joining. You can also delete your account and all associated data from Settings — a 7-day cancellable grace period applies before the hard delete.